Can this really be called a rodeo shirt? A cowboy shirt maybe? I don't know, but it's fun to wear and dead easy to make.
I began with a t-shirt but actually decided that the fringing looked better on a shirt. I'd already taken the photos before I changed my mind though, and actually, it's easier to see it on a t-shirt.
Ingredients:
- About 40cm of fringing, although this will vary depending on the width of the shoulders and on how deep you want the V at the back to be.
- A shirt
Plus
- Pins
- Tailor's chalk
- Matching thread
- Needle or sewing machine
1. First thing's first, try on the shirt and mark with pins where you want the fringing to start. I'd recommend starting pretty high up on the shoulders. Then begin to sketch with tailor's chalk a line between the two shoulders.
2. Mark lightly where you want to sew the fringing, curving down to a point in the middle. Fold in the middle of the t-shirt to make sure you get the point centred correctly.
...and then continue to pin it along the line you've just drawn.
.jpg)
4. Fold the fringing around the centre point.
Pro tip : slide a piece of cardboard into the middle of the t-shirt to make it easier to pin the fringing on without getting the pins through both sides.
5. Once the fringing is pinned into place, sew it down with zig zag stitch, or, alternatively you can hand sew it.
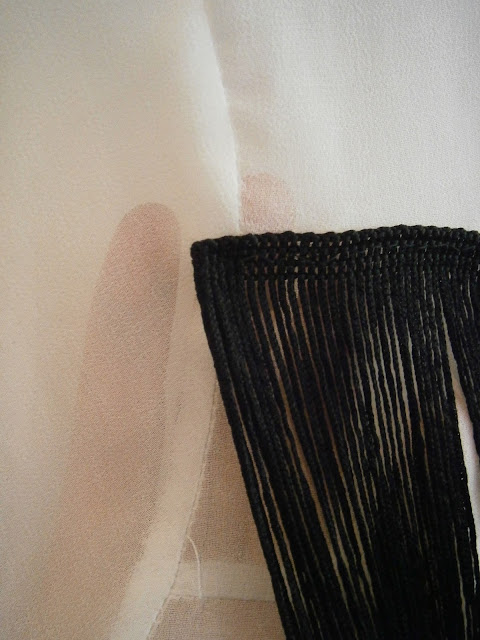
Pro tip 2: If your shirt is delicate, like mine was, sew each edge of the fringing securely to the arm seams on either side. This will help prevent the weight of the fringing from dragging down the shirt at the back.
And you're done!
.jpg)

.jpg)

.jpg)
.jpg)
.jpg)
.jpg)


No comments:
Post a Comment