Friday 26 July 2013

DIY | How My Cufflinks Work

I posted the finished product yesterday. This is how they work, and they work very well indeed in fact! They do a great job of keeping your sleeves up.


And here's some I made earlier


Thursday 25 July 2013

DIY | Accordion Ribbon Necklace


Do you remember this necklace I spied in Cos? I thought I'd try my hand at a DIY using supplies I picked up in my local bead shop and some grosgrain ribbon to add texture - turns out it's pretty simple!

Ingredients
  • 1m of thick grosgrain ribbon for the centre
  • 2 x 50cm of thin ribbon for the outsides
  • 1m nylon-coated wire
  • 2 wire protectors
  • 2 crimps
  • Clasp
  • A couple of jump rings (optional)
Plus
  • Strong needle with an eye large enough for the wire to go through.
  • Matches or a lighter

Begin by cutting the long piece and the two shorter pieces of ribbon in half, you should now have 6 pieces of ribbon. Seal all the ends with a match or lighter.


Then, starting with the thick ribbon, fold one strip over the other.


I found it easier to manage when I stuck the needle through from the start. Thread the wire through the needle and start pulling it through.


Once you've gone past the depth of the needle, you can use pins to keep the ribbon stack in place.


This way it won't unravel or lose it's shape when you let it go... 


...and you can stick the wire through in steps...


...until it's all threaded on.


Repeat these steps for the thinner ribbon on either side. When you've finished you can choose to secure the ribbon in place with a crimping bead that you squash with a pliers.


You're mainly finished now, all you need to do is attach the clasp. Using wire protectors is the best way to do it, as it helps prevent the wire bending and weakening.

It's very easy, all you do is thread another crimp onto the wire followed by the wire protector.


Put the other end of the wire through the other side of the protector...


...and then back through the crimp which you then squash with the pliers.


Fasten the jump ring through the wire protector and add a jump ring.


Repeat for the other end and add the clasp.


Variations

You could consider using more different widths of ribbon, or you could consider using different colours, maybe creating an ombré effect.

Wednesday 24 July 2013

Monday 15 July 2013

Ideas | Tassel and Trim Evening Bag

I thought I'd post about this recent buy both as a reminder of what fabulous things you can find in a charity shop (and for only 4 EURO!), and because of how it's the extras - the tassel and the trimming - that really make this bag. So often I come across beautiful trims but am unsure of how to use them elegantly...well, here you go!


Sunday 14 July 2013

DIY | Pillowcase Top


Would you believe that this singlet was made out of a pillowcase?

Surprisingly easy and soft and breezy for a beautiful summer's day! 

The big star of this show is bias binding (have you noticed my deep love for this stuff?) It makes hemming sooo much easier.

Ingredients
  • Pillowcase
  • approx 2.5m of bias binding
  • hemming tape


Plus
  • Scissors
  • Thread
  • Sewing machine

Thursday 11 July 2013

What Ali Wore

I just came across this Tumblr documenting the daily outfit choices of Ali, an 84 year-old dude in Berlin. This is how it started;

"Ali walks past the cafe I work at in Berlin every morning at 9:05am. I’m not sure where he is going, but we always say hello to each other. He always wears such great clothes. I don’t speak much German and he speaks a little bit of English, but I managed to ask if I could take his photo. He gladly accepted."

He does wear great clothes (red leather boots in matte AND patent finish!) and his poses are just excellent! Ali got swag!! Check out the blog and watch Ali's poses, and his relationship with the blogger, evolving. Here are some of my favourites:


Wednesday 10 July 2013

DIY | Sleeveless Men's Shirt


Menswear (shirts)
+
Womenswear (shapes)


à la Caroline Issa (right)


Here's my take on the sleeveless shirt:

A guy friend of mine was recently moving house and throwing stuff out along the way. He had an old cotton shirt that was a bit stained under the arms and whose collar was starting to fray. It was heading for the bin when I saved it for some DIY regeneration! 

By unpicking the collar and sleeves the shirt becomes much more structured and really pretty smart looking (read: no longer an old, man's shirt that you threw on coz it's comfy). It also counters the two main problems you come across in old shirts - wear on the collar and cuffs, and underarm staining - which make an otherwise perfect shirt scruffy and unwearable.

Ingredients:
  • 1 man's shirt
Plus:
  • Ripper
  • Scissors
  • Matching thread
  • Sewing machine optional
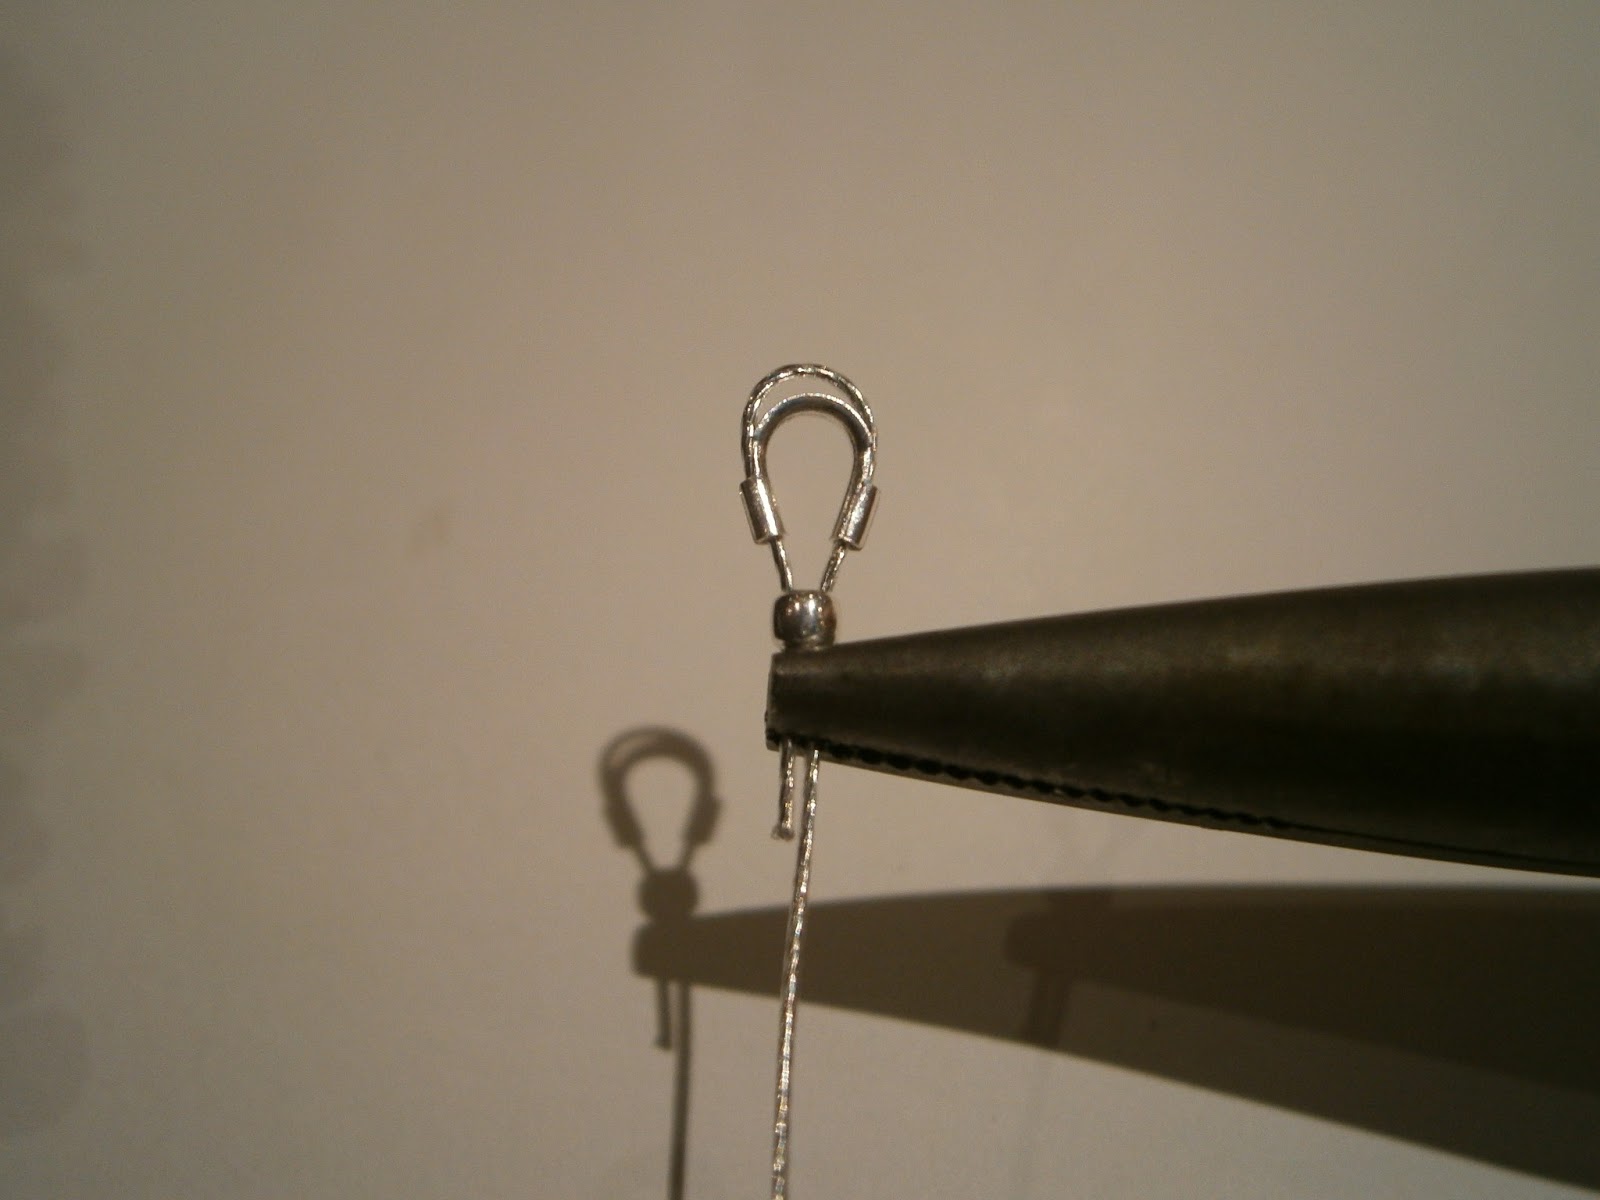
Rip the seams at the collar and arms.

Monday 8 July 2013

Wednesday 3 July 2013

Industrial Strength

I've been helping a company recently to move offices which has brought me into frequent contact with a lot of cardboard packing crates and so with these industrial, copper-coloured staples. 

What projects would you use them for?