Do you remember this necklace I spied in Cos? I thought I'd try my hand at a DIY using supplies I picked up in my local bead shop and some grosgrain ribbon to add texture - turns out it's pretty simple!
Ingredients
- 1m of thick grosgrain ribbon for the centre
- 2 x 50cm of thin ribbon for the outsides
- 1m nylon-coated wire
- 2 wire protectors
- 2 crimps
- Clasp
- A couple of jump rings (optional)
- Strong needle with an eye large enough for the wire to go through.
- Matches or a lighter
Begin by cutting the long piece and the two shorter pieces of ribbon in half, you should now have 6 pieces of ribbon. Seal all the ends with a match or lighter.
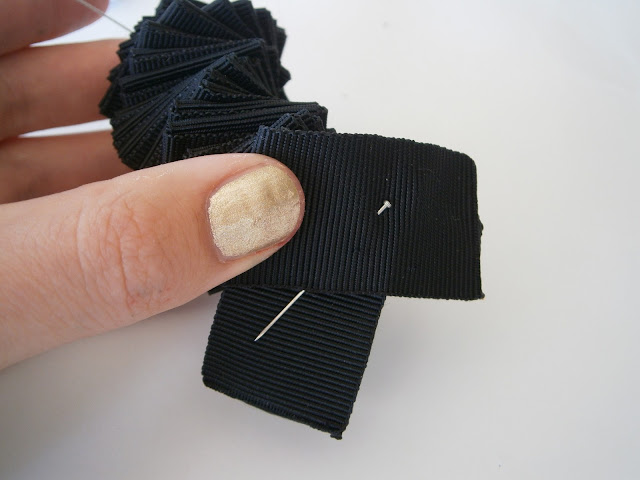
Then, starting with the thick ribbon, fold one strip over the other.
This way it won't unravel or lose it's shape when you let it go...
...and you can stick the wire through in steps...
...until it's all threaded on.
Repeat these steps for the thinner ribbon on either side. When you've finished you can choose to secure the ribbon in place with a crimping bead that you squash with a pliers.
It's very easy, all you do is thread another crimp onto the wire followed by the wire protector.
Put the other end of the wire through the other side of the protector...
...and then back through the crimp which you then squash with the pliers.
Fasten the jump ring through the wire protector and add a jump ring.
Repeat for the other end and add the clasp.
Variations
You could consider using more different widths of ribbon, or you could consider using different colours, maybe creating an ombré effect.


.JPG)


No comments:
Post a Comment